Renovate smart with these cool home office ideas. A happy space is a productive space.
6 Ways to Renovate Your Home Office Space
If your home office lacks inspiration, organization or convenience, do something about it — like one of these cool home office ideas.
A relatively simple do-it-yourself project transforms your office from second-rate to top of the line.
1. Install a Floating Shelf

Keep important but lesser used office materials on a high floating shelf centered above your home office desk. Because this is an unusual placement, make it a design accent by matching the color of the shelf to the desk.
To hang the shelf, you’ll need a tape measure, pencil, level, handheld electric drill, wall anchors (hollow ones for plaster, butterfly or toggle anchors for drywall), screwdriver, and the shelf, bracket and screws.
- Using the desk as the base, measure the height of the shelf. With a pencil, lightly mark where both ends of the shelf will be. Draw a line between the marks, using a level to guarantee the shelf won’t tip
- Drill anchor holes into the wall. Following the instructions on the package, put the anchors in place.
- Line up the shelf brackets with the anchors. Screw the brackets into the anchors.
- Line up the shelf with the bracket, and slide the shelf into place.
2. Paint the Walls
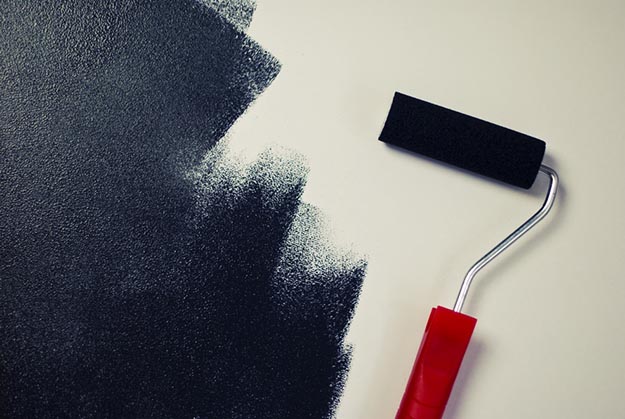
Paint your office walls to create a calming and non-distracting backdrop for your work. Gray is a great neutral. Because the paint is available in so many different shades — dark, light, beige-ish, brownish, blue-ish — it matches just about anything.
To do a top-notch painting job, you’ll need a cellulose sponge, dishwashing liquid, a 2 to 2 ½-inch paintbrush, roller and rolling pan, painter’s tape, a 2-inch angled brush, and, of course, paint.
- Using the sponge, wipe down the walls with water and a little detergent. Rinse thoroughly with plain water.
- With the small brush, cut in next to the ceiling, window and door trim and along molding. The cut-in sections should be 2 to 3 inches wide.
- Paint one wall at a time. To prevent streaks, roll a large W-shaped pattern. Keep the roller in contact with the wall, and fill in the W. Move on to the next area, and repeat the pattern.
- After the walls have thoroughly dried, paint the trim using the angled brush. Place painter’s tape on the walls next to trim and molding. Starting at the highest point, paint your way down.
- Remove the tape after about an hour. The paint should be dry to the touch.
3. Change Your Chair
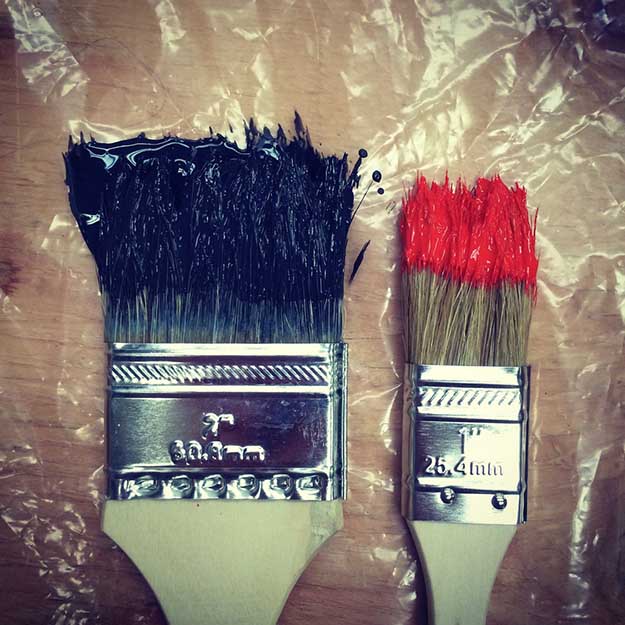
While you’re thinking “painting,” spruce up your office by putting a couple of fresh coats on your chair. There are many different ways you can go about painting wood furniture. For starters, you will need a drop cloth to work on, furniture cleaner, sponge, sand paper and electric sander, rag or towel, medium-size paint brush, primer, paint and oil-based clear sealant.
- Clean the chair, and then let it dry.
- Remove the existing finish with sandpaper and the electric sander. The thicker the finish, the heavier the sandpaper.
- When sanding is over, wipe down the chair, removing all dust.
- Put a coat of primer on the chair, and let it dry.
- Top with at least two coats of paint.
- After the paint has thoroughly dried, add a coat of clear sealant.
4. Design a Stool Desk
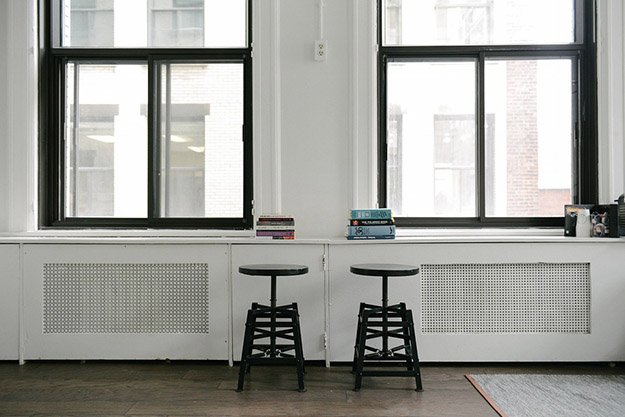
Make a useful and interesting desk from two repurposed wood stools and some pieces of lumber. You’ll need the stools, paint, paintbrush, boards, screws, electric or traditional screwdriver, paintbrush and wood stain.
- If you want to change their color, paint the stools.
- Determine the desired length and width of your desk. The boards should rest securely on top of the stools, which go at either end of the desk.
The width of the desktop should be about the same as the width of the stool. A little wider is fine. Depending upon the width, you may need two or three boards.
- At the lumber store, have boards cut to the desired length.
- Place the boards on top of the stools, and use screws to attach them. One screw at each end should be enough.
- Stain the boards.
5. Organize with a Shutter
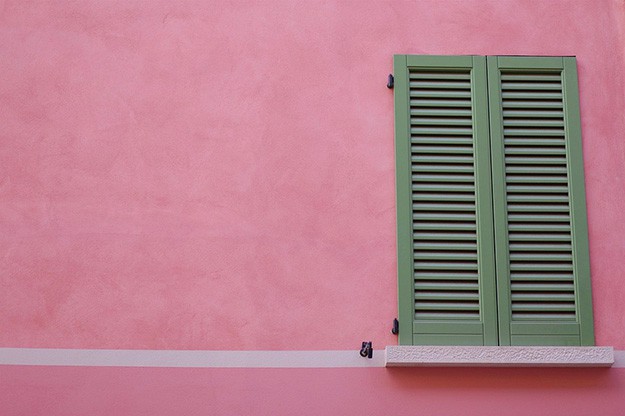
Make a wall organizer for mail or paperwork by repurposing an old shutter. In addition to the shutter, you’ll need wood putty, hot glue gun, sandpaper, electric drill, rag, latex paint, paintbrush, four ½-inch wood screws with decorative washers and a measuring tape.
- Remove the hinges from the shutter and fill in the holes with wood putty. Let the putty dry.
- If the shutters have moveable louvers, push them into the “up” position. Lock the louver bar in place by putting a large blob of hot glue at its base. Let the glue dry.
- Sand the shutter.
- Drill a hole for one ½-inch screw in each corner of the shutter.
- Wipe the dust from the shutter.
- Paint the shutter, if desired. Leave the shutter unpainted for a rustic look.
- Mark the placement for the screw holes on the wall.
- Attach the shutter to the wall with the screws and washers.
6. Make a Chic Dry Erase Board
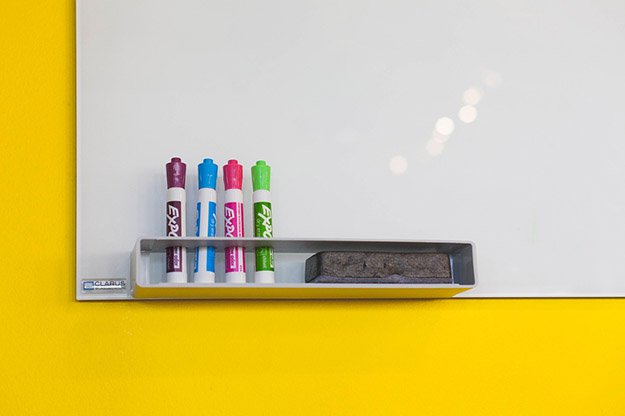
Dry erase boards are useful around the office, but they’re decidedly unstylish. Make one that matches your room using molding, a dry erase board, paint and hot glue gun. Wall hangers are optional.
- Start with a plain dry erase board. Choose a size that best meets your needs.
- Cut inexpensive molding to fit all four sides.
- Paint the molding to match your room. Use the wall color or a complementary color.
- Attach the molding to the board using hot glue. If you want the board to hang on the wall, attach hardware to the backside of the molding.
Love our post on cool home office ideas? Then you'll also love:
How To Make A Bow | Binder Clip Office Supply Crossbow
Build This DIY Rustic Kitchen Island | Cheap Kitchen Renovations
DIY Drawer Dividers
Don’t forget to stay connected with us on Facebook, Twitter, Pinterest and Instagram!

