If you’ve ever been to the beach (or even played in a sandbox), you know that building a sandcastle is a fun and easy outdoor activity for kids. Making small structures out of wet sand is easy enough for even the smallest kids. However, building elaborate sandcastles with towers, details, bridges, and moats takes a bit more skill, patience, and expertise! California mom and founder of Wonder Club Explorers, Michelle Garret had the chance to meet up with local sandcastle building experts, San Diego Sand Castles, to learn the ins and outs of how experts build those amazing sand structures. She’s here today sharing all the tips and tricks you need to know to up-level your sandcastle building skills.
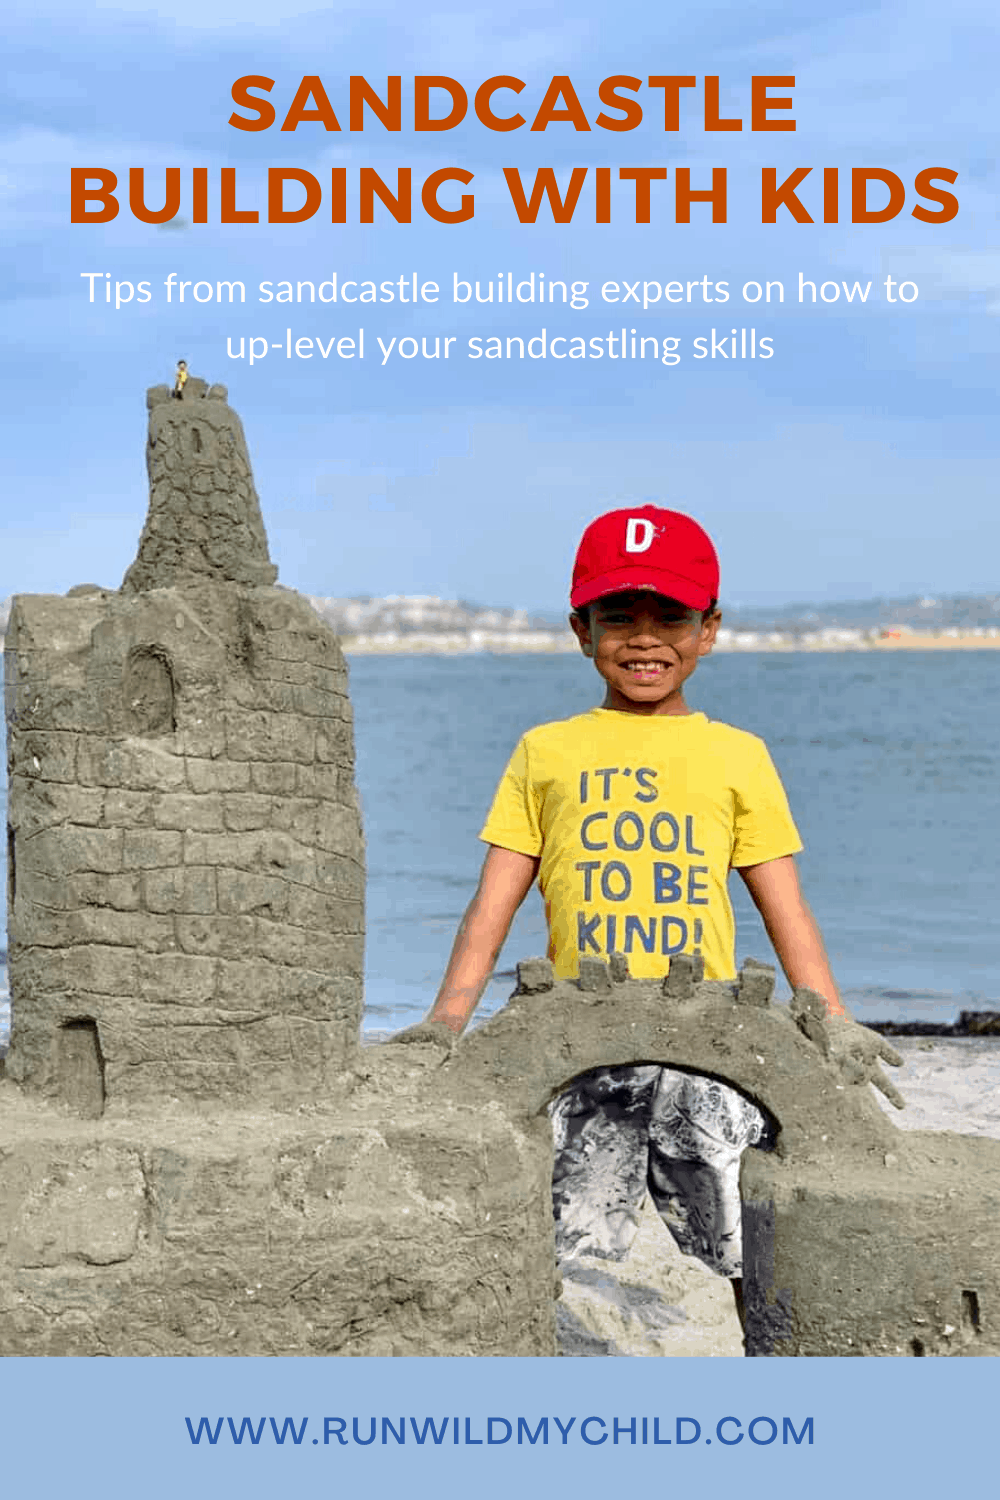
Sandcastles mean summer
Nothing signals summertime fun like sand, surf, and sandcastles! For many families, a trip to the seashore is not complete without building a sandcastle. If you’re like our family, then you might take along a bucket, a few shovels for digging, and brightly colored molds for making sandcastles. I don’t know about you, but we rarely form a complete structure without the sides caving in.
In search of wisdom and good advice, we did what all modern parents do and we googled how to make sandcastles like a pro!
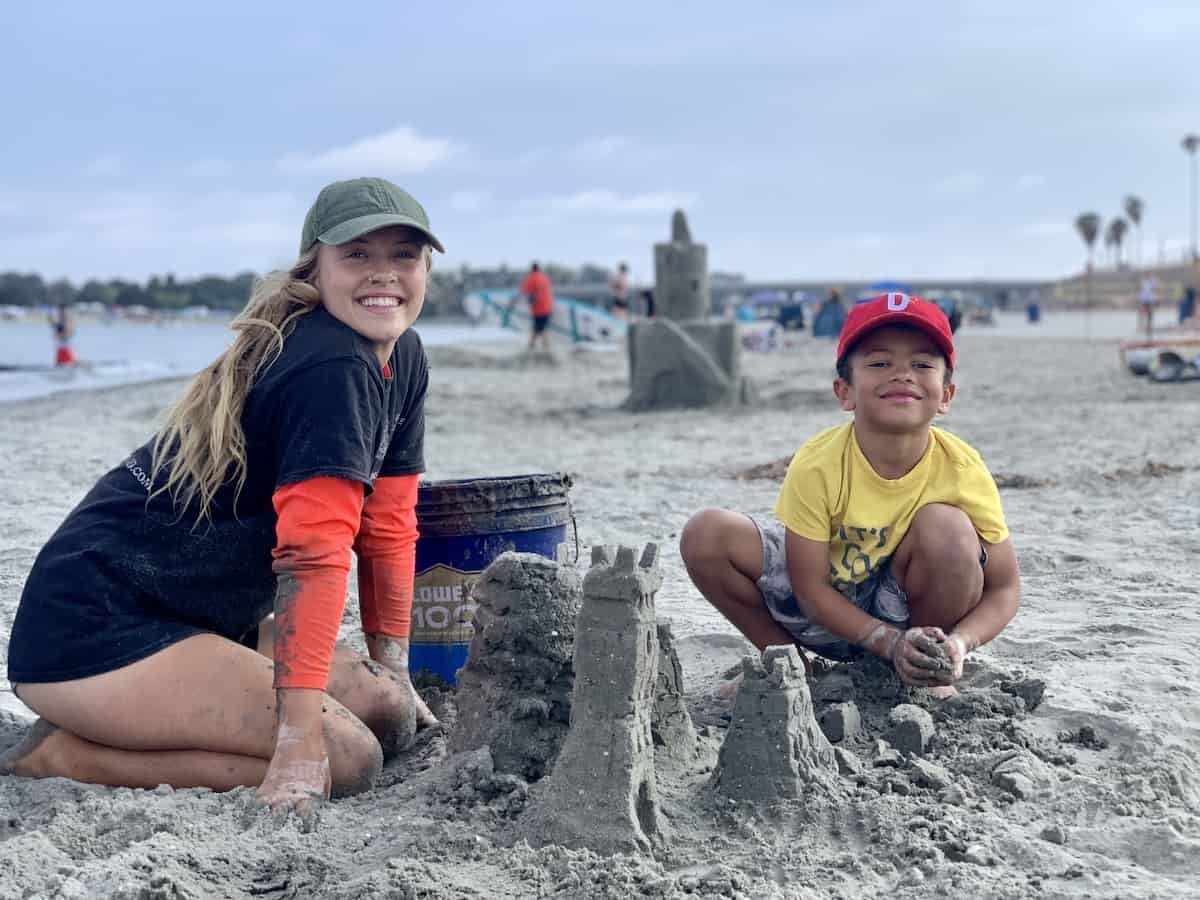
Meet the sandcastle pros
This is how we came to meet the award-winning sandcastling pros behind San Diego Sand Castles. JT Estrella, owner of San Diego Sand Castles, first came to my attention through his amazing displays at my hometown’s annual Ocean Festival. Every year, sandcastle artisans and professional builders compete in this yearly competition and amaze festival-goers with their elaborate and gravity-defying sculptures.
In search of much-needed tips to fix our crumbling sand towers, we connected with JT’s team member Oona. We hoped that we might soak up some sound advice to level up our sandcastle game. We learned a ton! And now, we get to share the top 7 tips that anyone can follow to make a sandcastle like a pro with you!
So, are you ready to up your sandcastle building skills? Are you ready to wow your friends and fellow beachgoers? Here’s everything you need to know to get started sandcastle building like a pro!
Sandcastle building tools
But before we get to those tips, let’s talk tools. Fortunately, very few tools are needed for building sandcastles. You may already have quite a few of these basic tools at home. Here’s a list of what you need:
- A good size bucket for transporting water and mixing sand. If you forget one at home, don’t fret and see tip #1 below.
- A sturdy shovel makes the work of scooping heavy wet sand a lot easier. A larger size shovel makes it easier than trying to do it with smaller shovels or one’s hands.
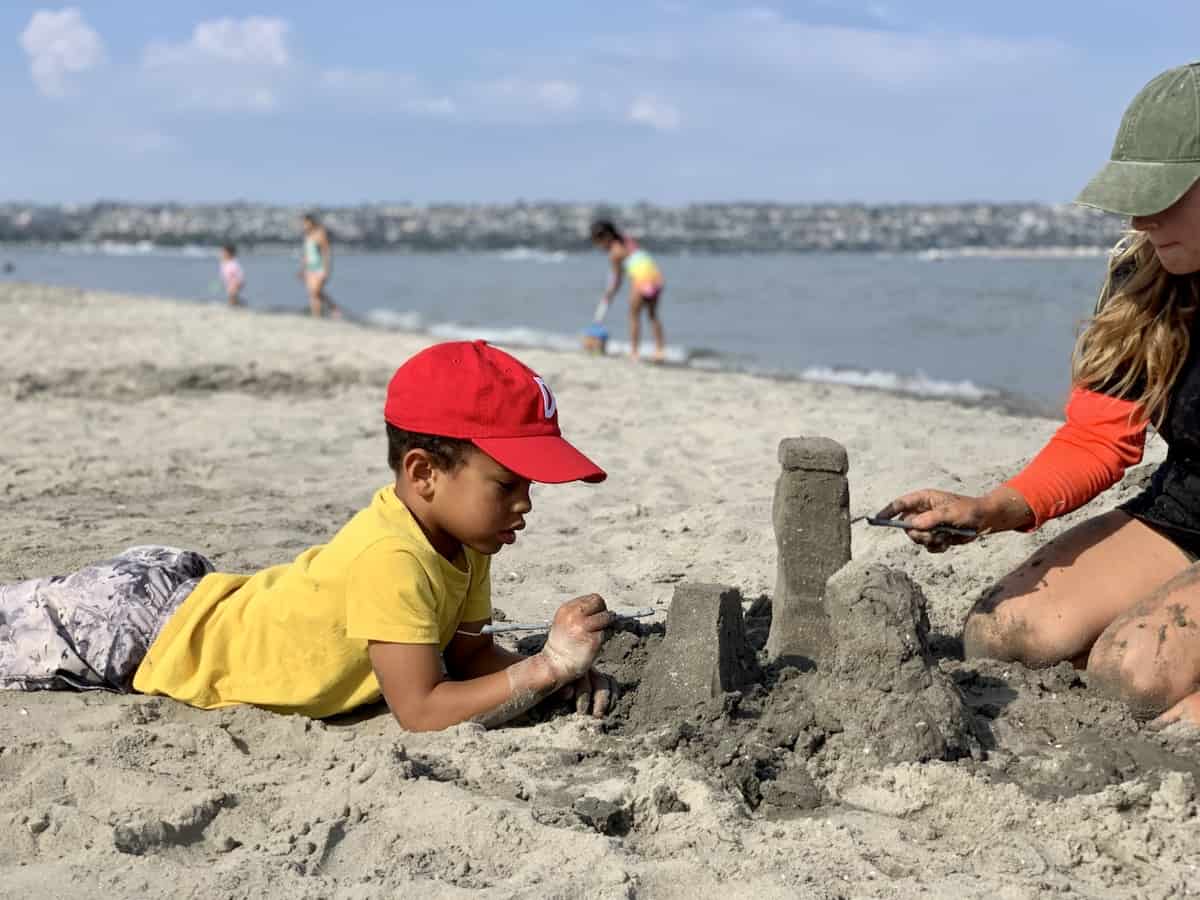
- Carving tools are essential for intricate sandcastle work. If you’re looking for custom sandcastle tools you can purchase a professional sculpting toolkit from San Diego Sand Castles. To build your own kit, grab a plastic knife from your picnic basket or cake decorating spatula from the kitchen, both tools will come in handy when adding in all of the fun details to your sand creation.
Sandcastle building tip #1 – prep your sand
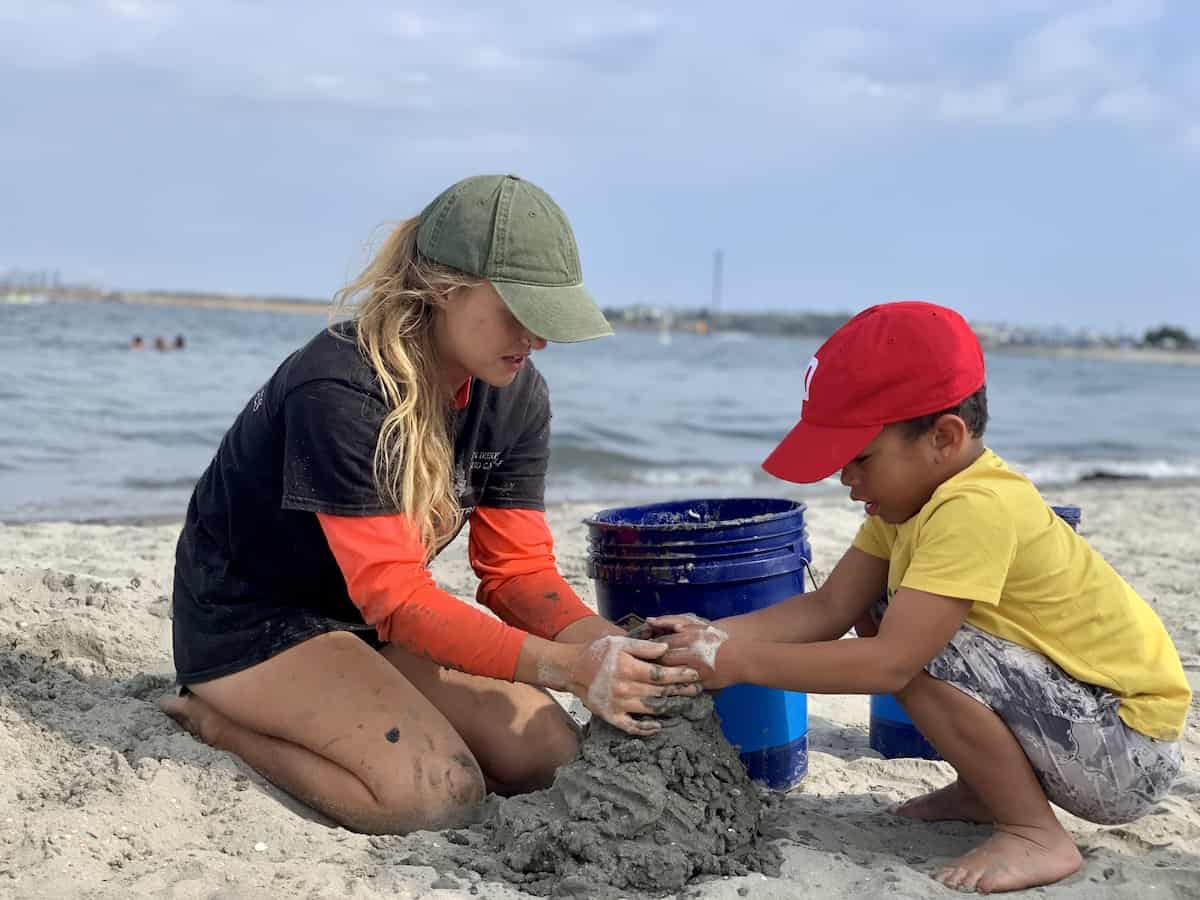
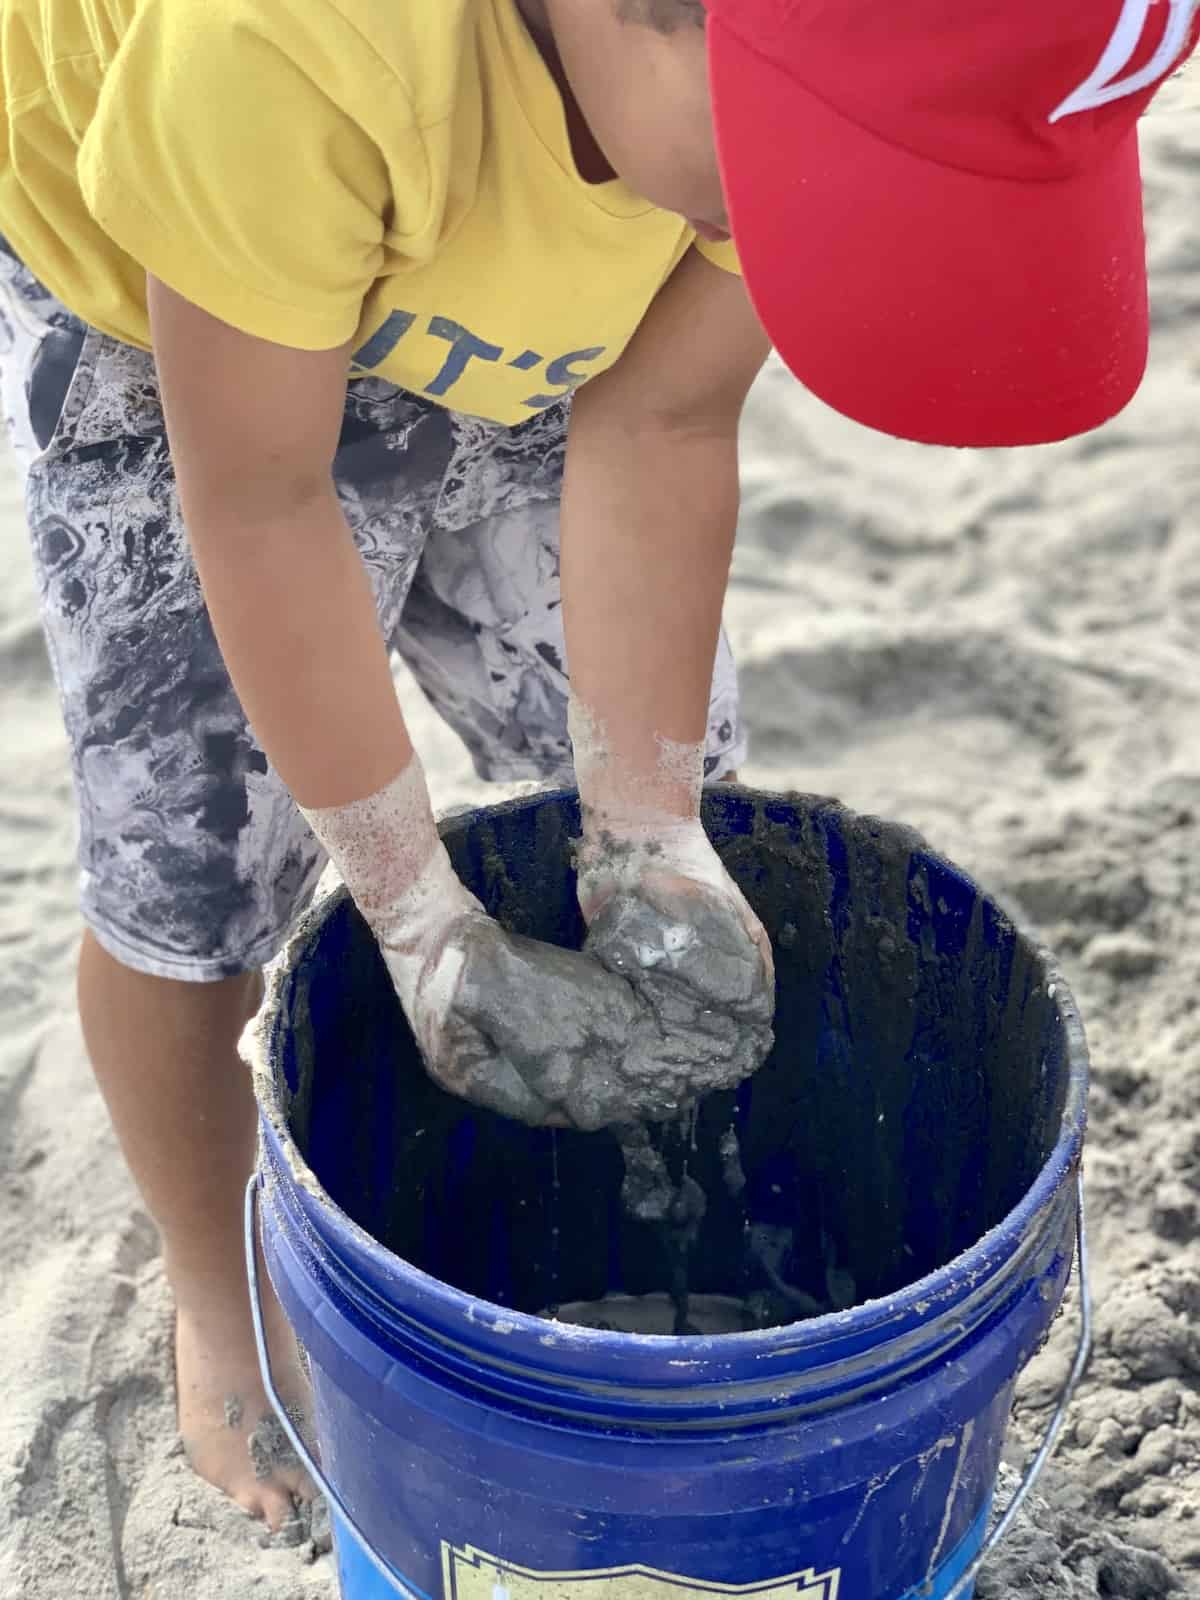
The first step to building amazing sandcastles is to prepare the sand, which is your building material. If your sand is too wet, it’ll be too heavy and sloppy to use. If your sand is too dry, it won’t keep its shape and crumble. You need the perfect mixture of sand and water, which means wet saturated cement-looking sand.
San Diego Sand Castles teaches all of their students a sandcastle building technique called hand stacking. The hand stacking technique is just like it sounds. With your bare hands, you take sand (very wet sand), scoop it and then stack it. The key to handling your sand is to add lots of water so that your building materials look like wet cement or really thick mud.
To get the consistency of wet cement, it’s helpful to use a good-sized bucket to transport water for your sand. If you don’t have access to a bucket, dig a 12-inch hole where dry sand meets wet sand and allow water to fill the hole. The hole will function similarly to a bucket and provide a basin in which to prep your sand.
Sandcastle building tip #2 – set the foundation
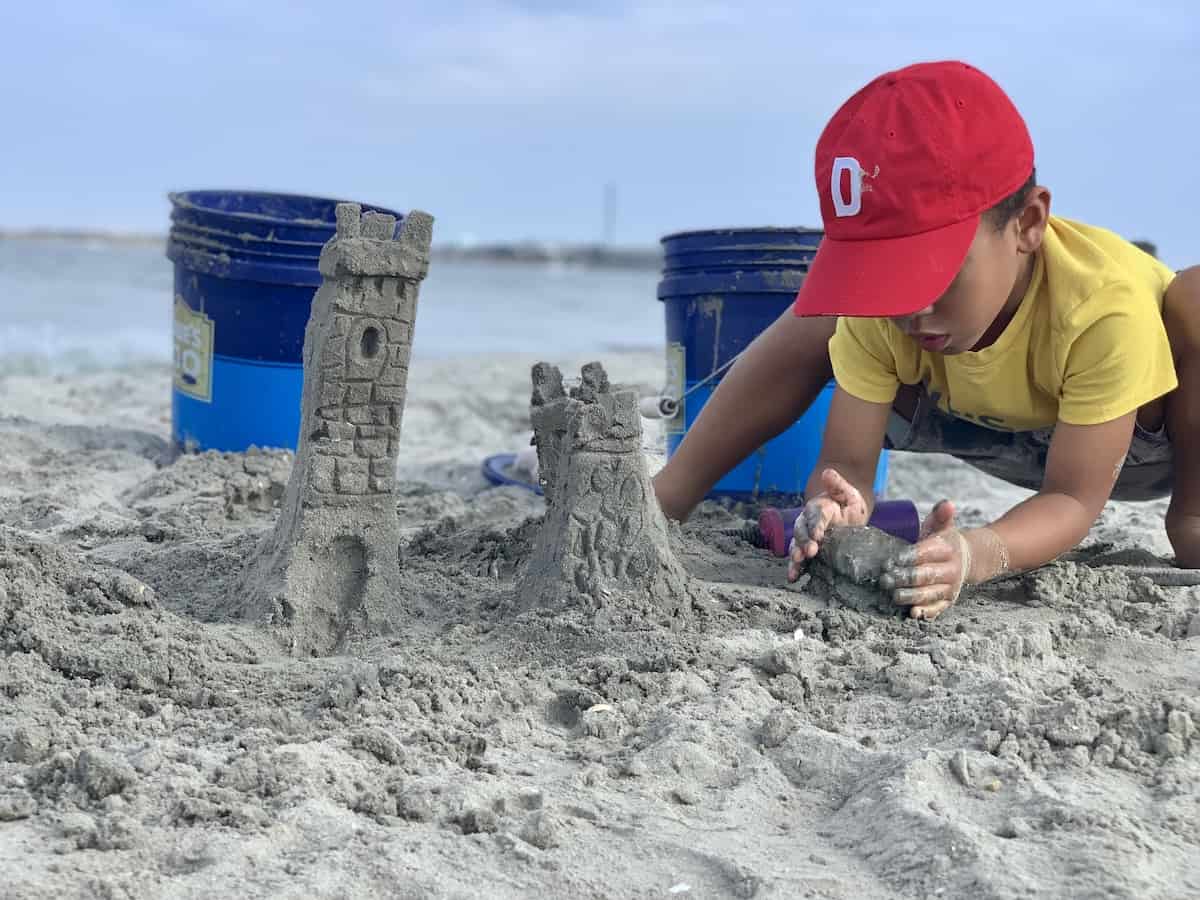
When building anything, you need to start with a good foundation. The super-secret technique that professionals use to build up the foundation of a sand sculpture is called “plop and jiggle.” Yes, it’s a very highly technical term!
The plop and jiggle technique is great for setting a very study foundation of sand on which you’ll build your sandcastle. Luckily, it’s an easy-peasy thing to do! All you need to do is scoop up a heap of sand, plop it down, and give it a jiggle. As the sand dries, scoop, plop and jiggle another heap atop the first one.
Sandcastle building tip #3 – stack it up
The trick to making a tall sandcastle tower is to build up your stacks. It’s easier to build straight up by plopping, jiggling, and stacking on one mound of sand. It is not advised to add additional stacks around the base or you might compromise the foundation of your castle.
Not sure on how high to stack? A good rule of thumb for kids under 10 is to plop and jiggle a stack as high as their elbow.
Sandcastle building tip #4 – cure and carve
Once your sandcastle structure has been created, you need to let it “cure” for a bit of time. This means that you let the moisture slowly evaporate from the sand. The length of time needed to cure your sandcastle will depend on a variety of factors, including how wet your sand way, how big your sandcastle is, how hot/sunny it is outside, etc. You don’t want it to completely dry out, but you do want to give it enough time to settle a bit.
Once your castle is cured, it’s time to add start adding detail. This is the point in your construction where access to carving tools makes the work of carving and adding texture a lot easier. Whether you want to add mermaid scales, diamonds, bricks, windows, steps, battlements, or other intricate details to your creation, the right tools can help you carve into the delicate sand with precision and ease.
Sandcastle building tip #5 – keep it tidy
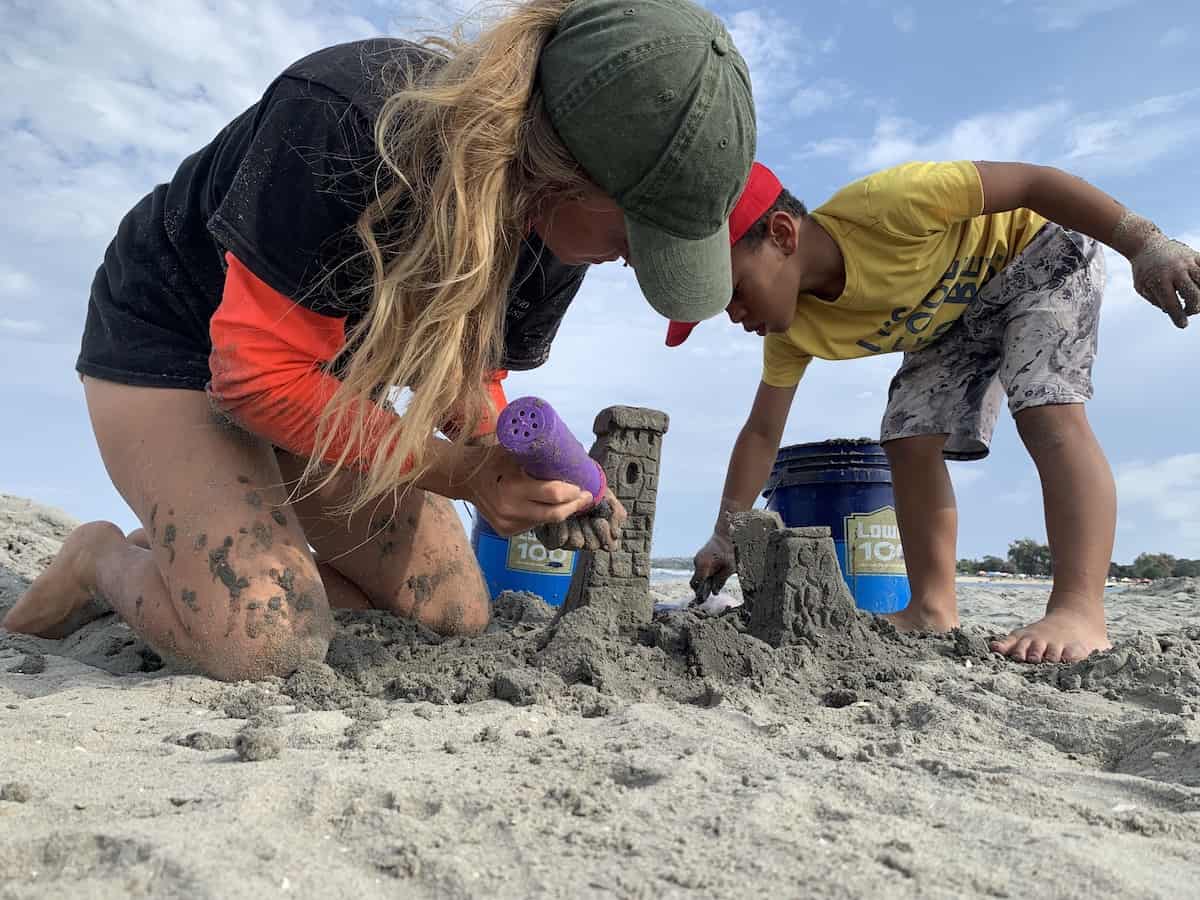
After you’ve added detail and interest to your sculpture, it’s time to clean up loose sand from its seams and grooves. A plastic air pump, tube or straw are all great tools that can be used for clearing out extra sand.
A plastic microfiber feather duster is another tool that professional sandcastle builders use to clean out errant sand from their detail work. You could use a regular paintbrush for this. Regardless of the tool, this is an important step in sandcastle construction that helps to make the details in your sand sculpture really pop.
Sandcastle building tip #6 – add crenellation blocks
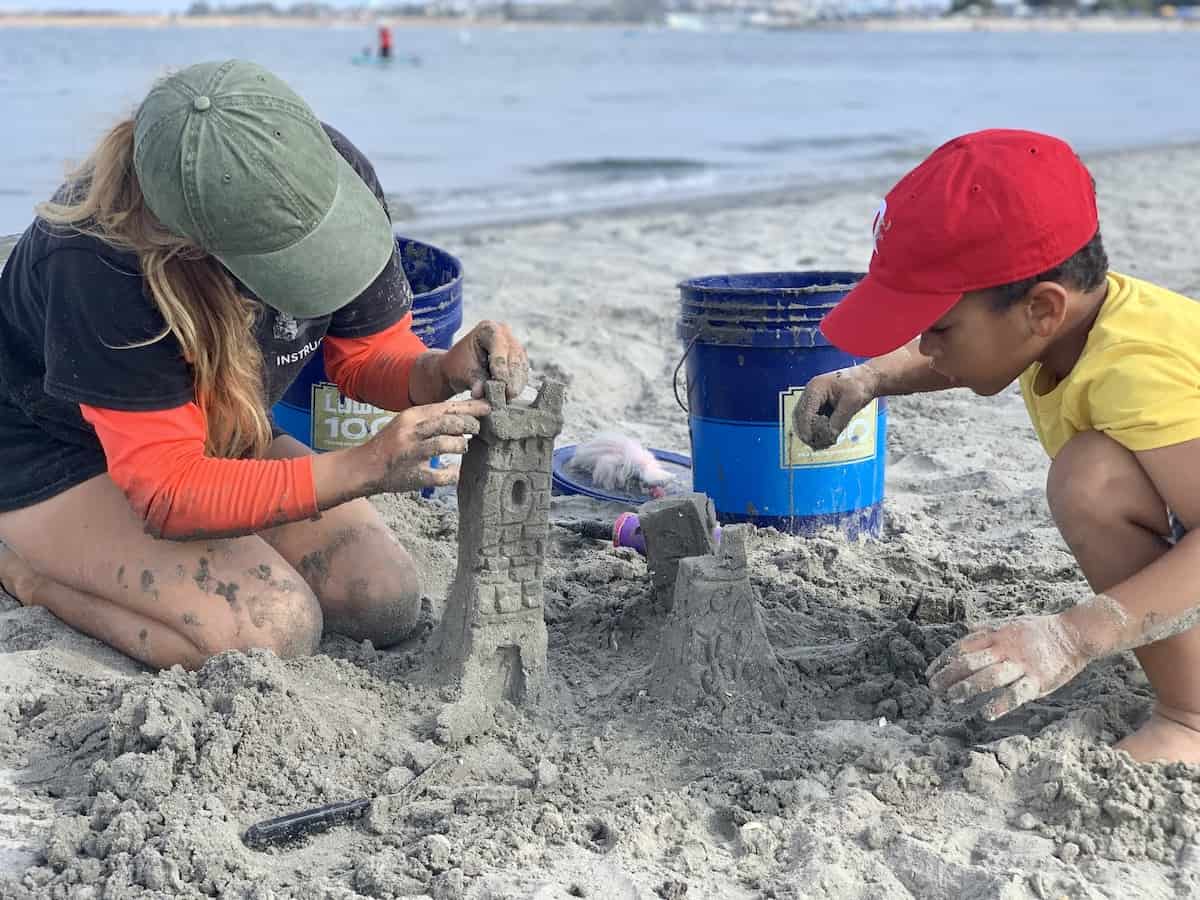
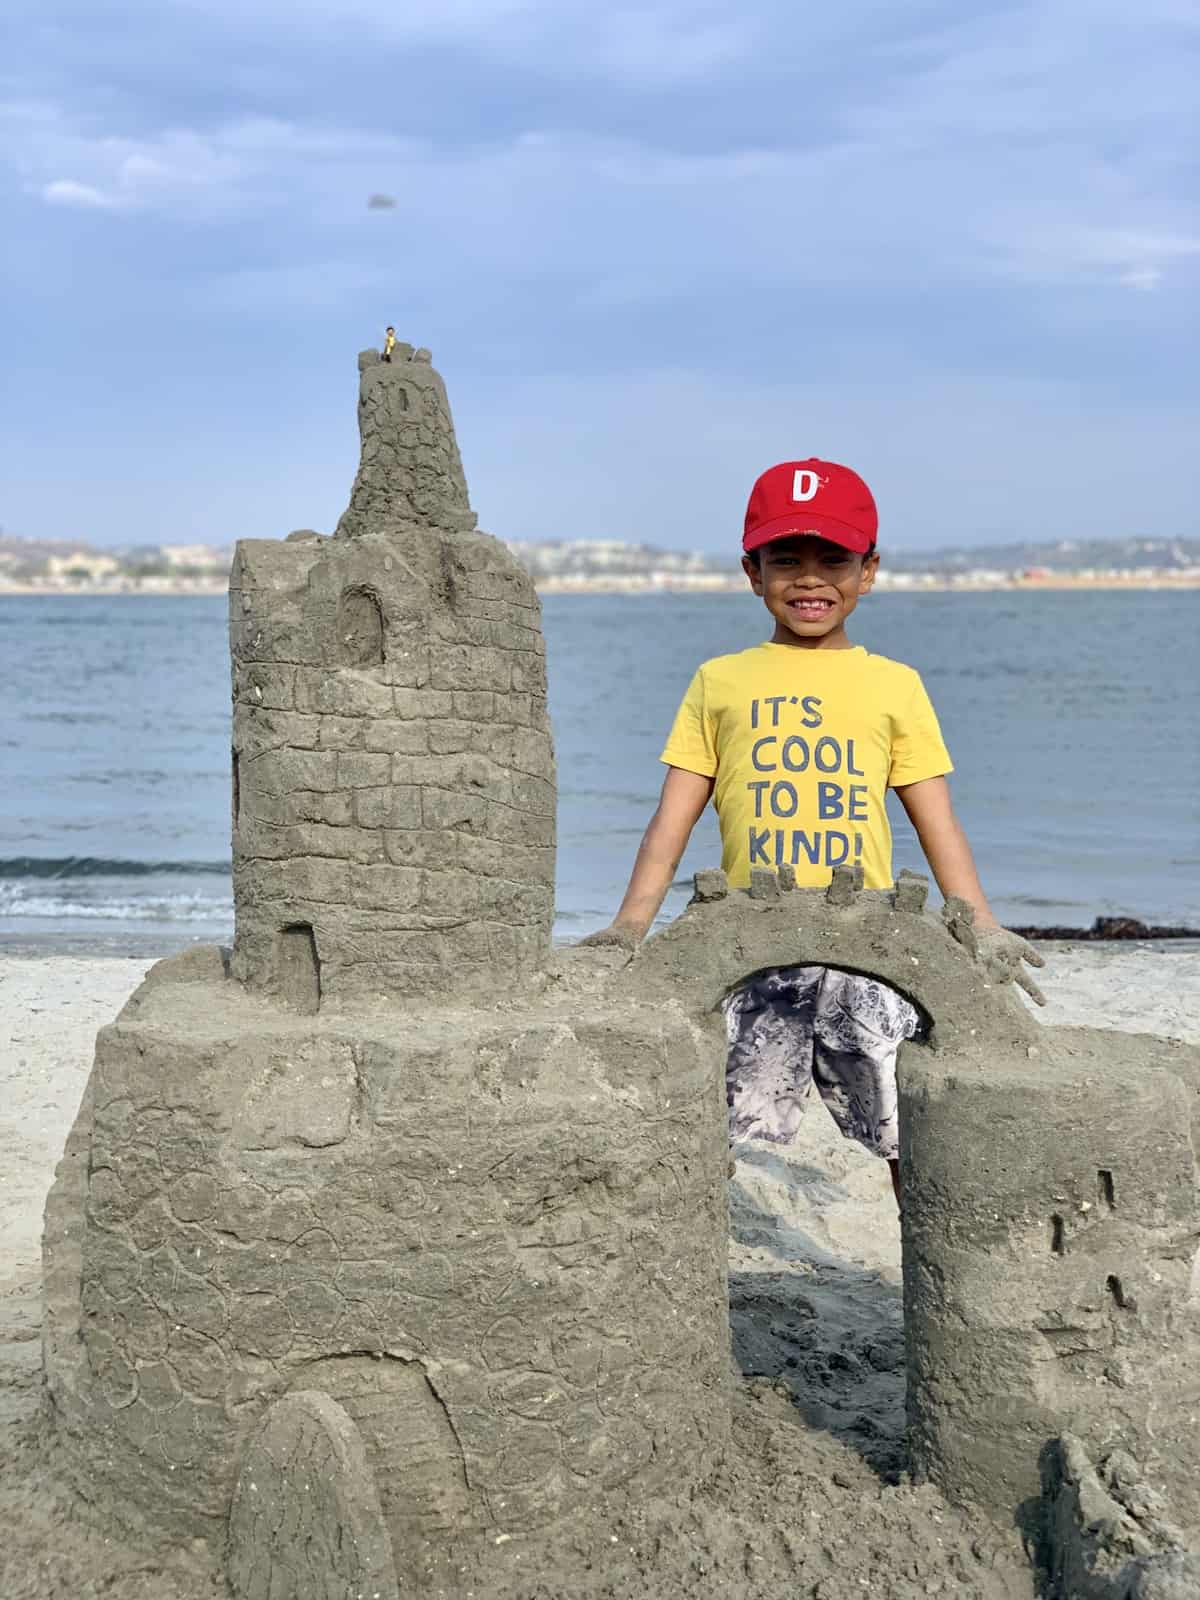
If you’d really like to embellish your structure, here’s a bonus tip: add crenellation blocks! What’s a crenellation block? Crenels are the rampart blocks you see atop medieval castles. Rectangular in shape, these blocks fortify a castle against would-be intruders.
To make a crenellation block, start with a fresh stack of wet sand. After it dries a little, square it off by slicing into it with your carving tools. Just like slicing a sheet pan of brownies, you’ll want to cut little squares or rectangles.
Next, slice the base and use your hand to support the block of sand while lifting it. Then, gently place it atop the tower. It might be tempting to try to carve the blocks directly into your tower, but don’t give in to that temptation! Cutting into the tower will likely cause it to collapse!
Sandcastle building tip #7 – how to build bridges
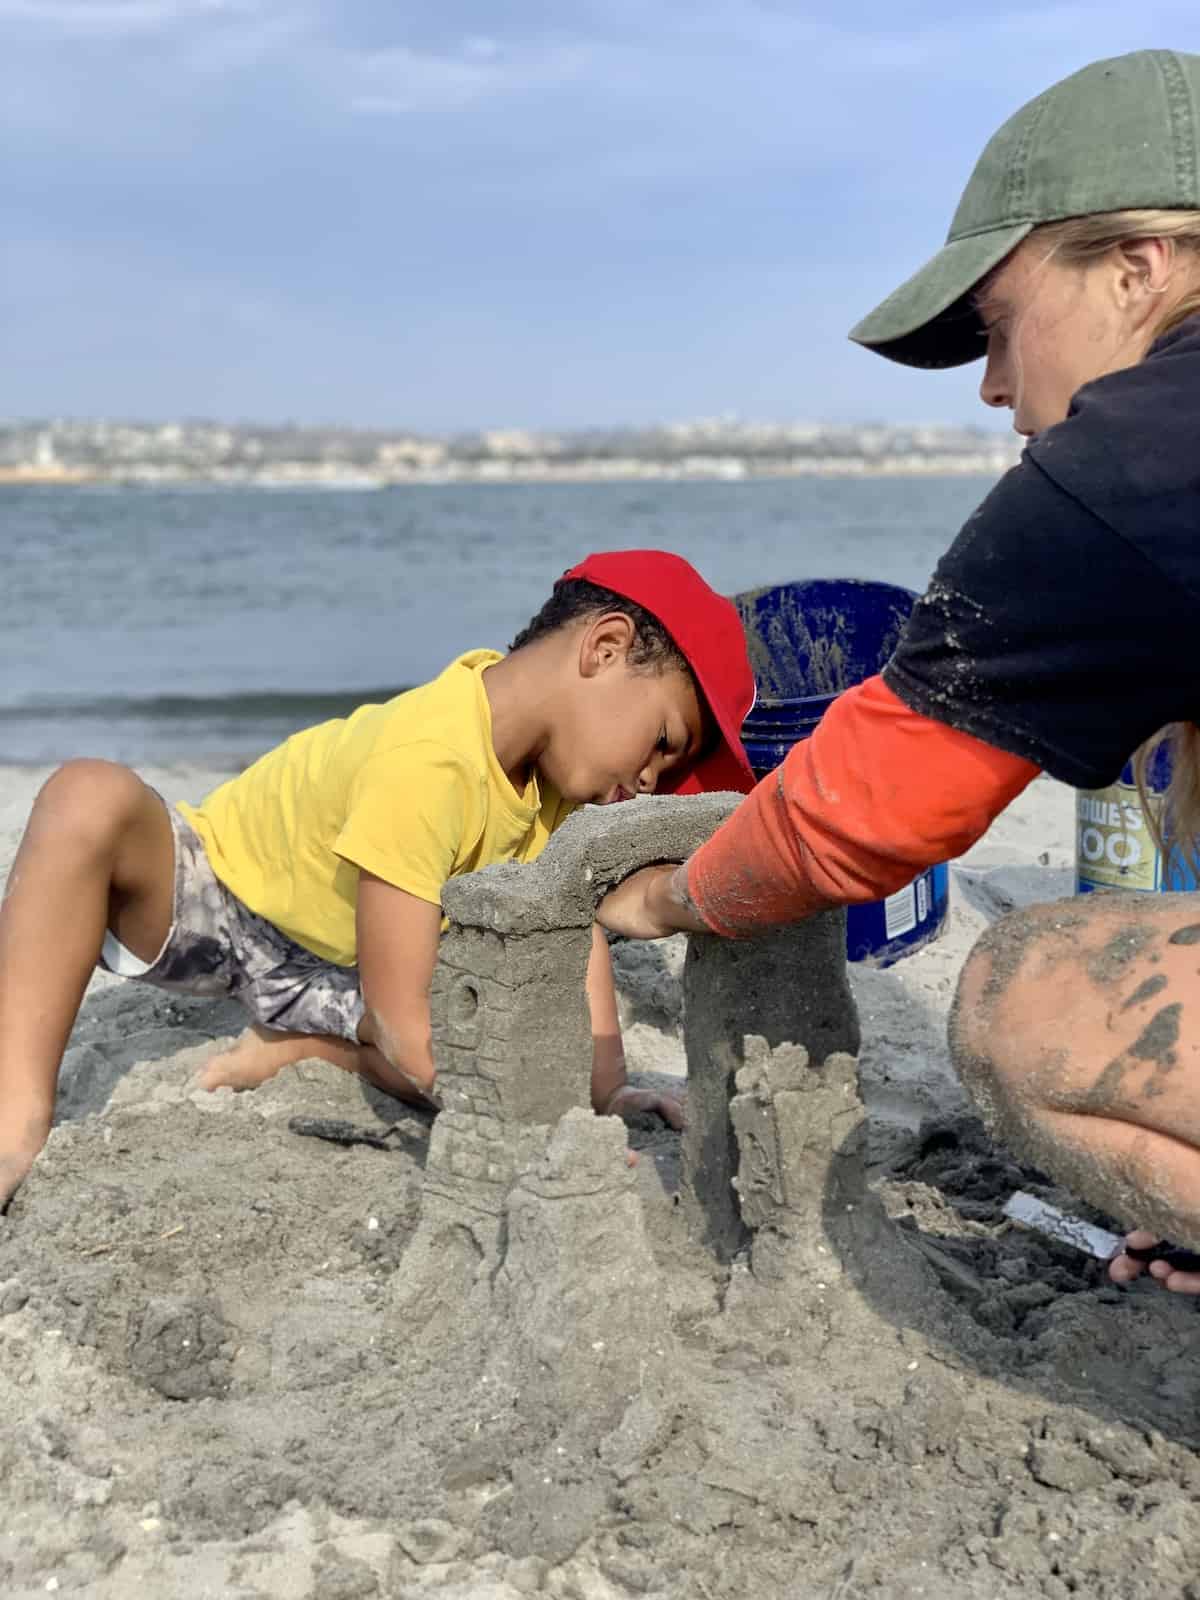
Let’s say you have two towers and you’re planning to go big with your sand fortress. You might find yourself in need of a bridge or two! Bridges are easier to make than you might expect (and really up the “wow” factor), especially when you have two sets of hands helping out.
To make a bridge, you’ll start with wet sand. As you shape the bridge, a second set of steady hands* can support its underbelly until the sand has dried. Once the sand has sufficiently dried, remove the hands. Voila! Your bridge is done.
*According to the pros, steady hands generally come from people 10 years of age or older.
The science and fun of sandcastle building
Following these tips, we hope your next sandcastle will be spectacular! Sandcastle building is a fun way for people of all ages to indulge their imaginations. For homeschooling families, sandcastle building is also an opportunity to learn about science. The Australian Academy of Sciences has an excellent article highlighting lessons in the fields of geology, engineering, and physics- all associated with the everyday act of building sand structures.
The next time you find yourself at the beach, we hope you’re inspired to incorporate these sandcastle building tips! Happy sandcastling!
SPECIAL THANKS to San Diego Sand Castles for sharing their tips and helping make our sandcastle dreams come true.
Do your kids love to build sandcastles?

About the author
Michelle spends her days working on projects to improve the quality of life for the citizens of her community and her nights reading books to her 6-year-old about every kind of dinosaur there ever was (there are 900 validated species, in case you’re wondering). Together with her son, Michelle created Wonder Club Explorers, a company to inspire wonder and curiosity in kids. She carves out time for herself on the weekends as an early morning exerciser and metalsmith of fine jewelry. She resides in Altadena with her husband and son amongst California Oak trees and a stone’s throw of the San Gabriel Mountains.
You can find Michelle online in the following locations:
Instagram: @wonderclubexplorers
Website: www.wonderclubexplorers.co
RWMC posts: Outdoor Etiquette & Nature Manners for Kids, Outdoor Resolutions for Nature Kids, How to Cultivate Nature-Inspired Literacy in Kids
The post Tips for Sandcastle Building With Kids appeared first on RUN WILD MY CHILD.

